
Text-Based Coding
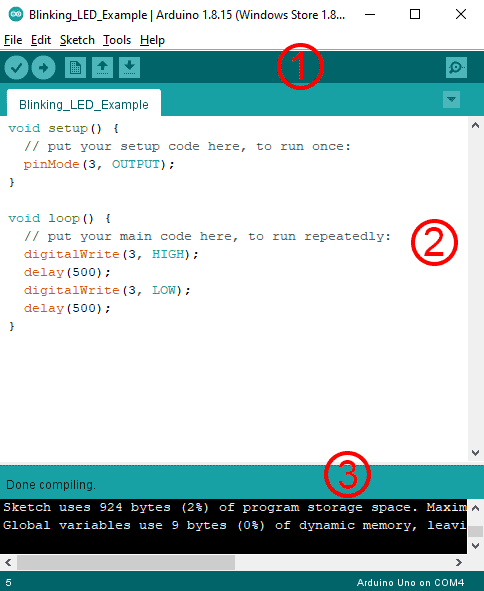
A traditional way of programming by typing text. A list of commands or syntax needs to remember. Coders have to follow the syntax rules to avoid errors. Typos in the names of variables can cause a big headache to troubleshoot.
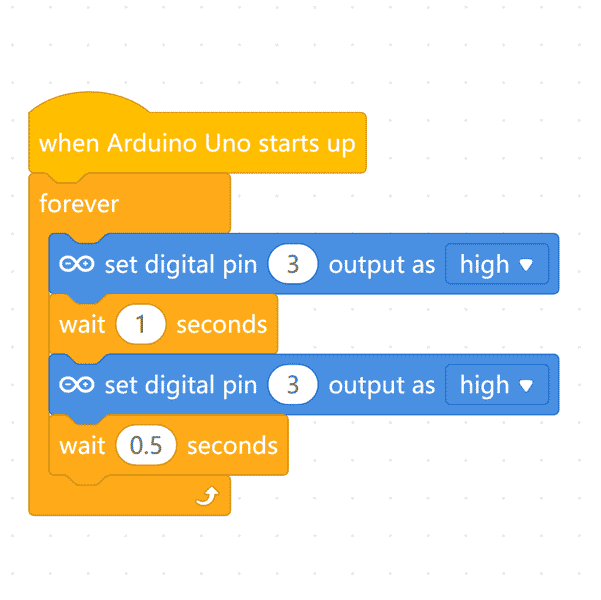
Block-Based Coding
As the name block, block-based coding is graphical of presenting the codes. It is very famous, especially for school kids. Dragging and dropping puzzle blocks rather than typing letters by letters make programming much effortless.
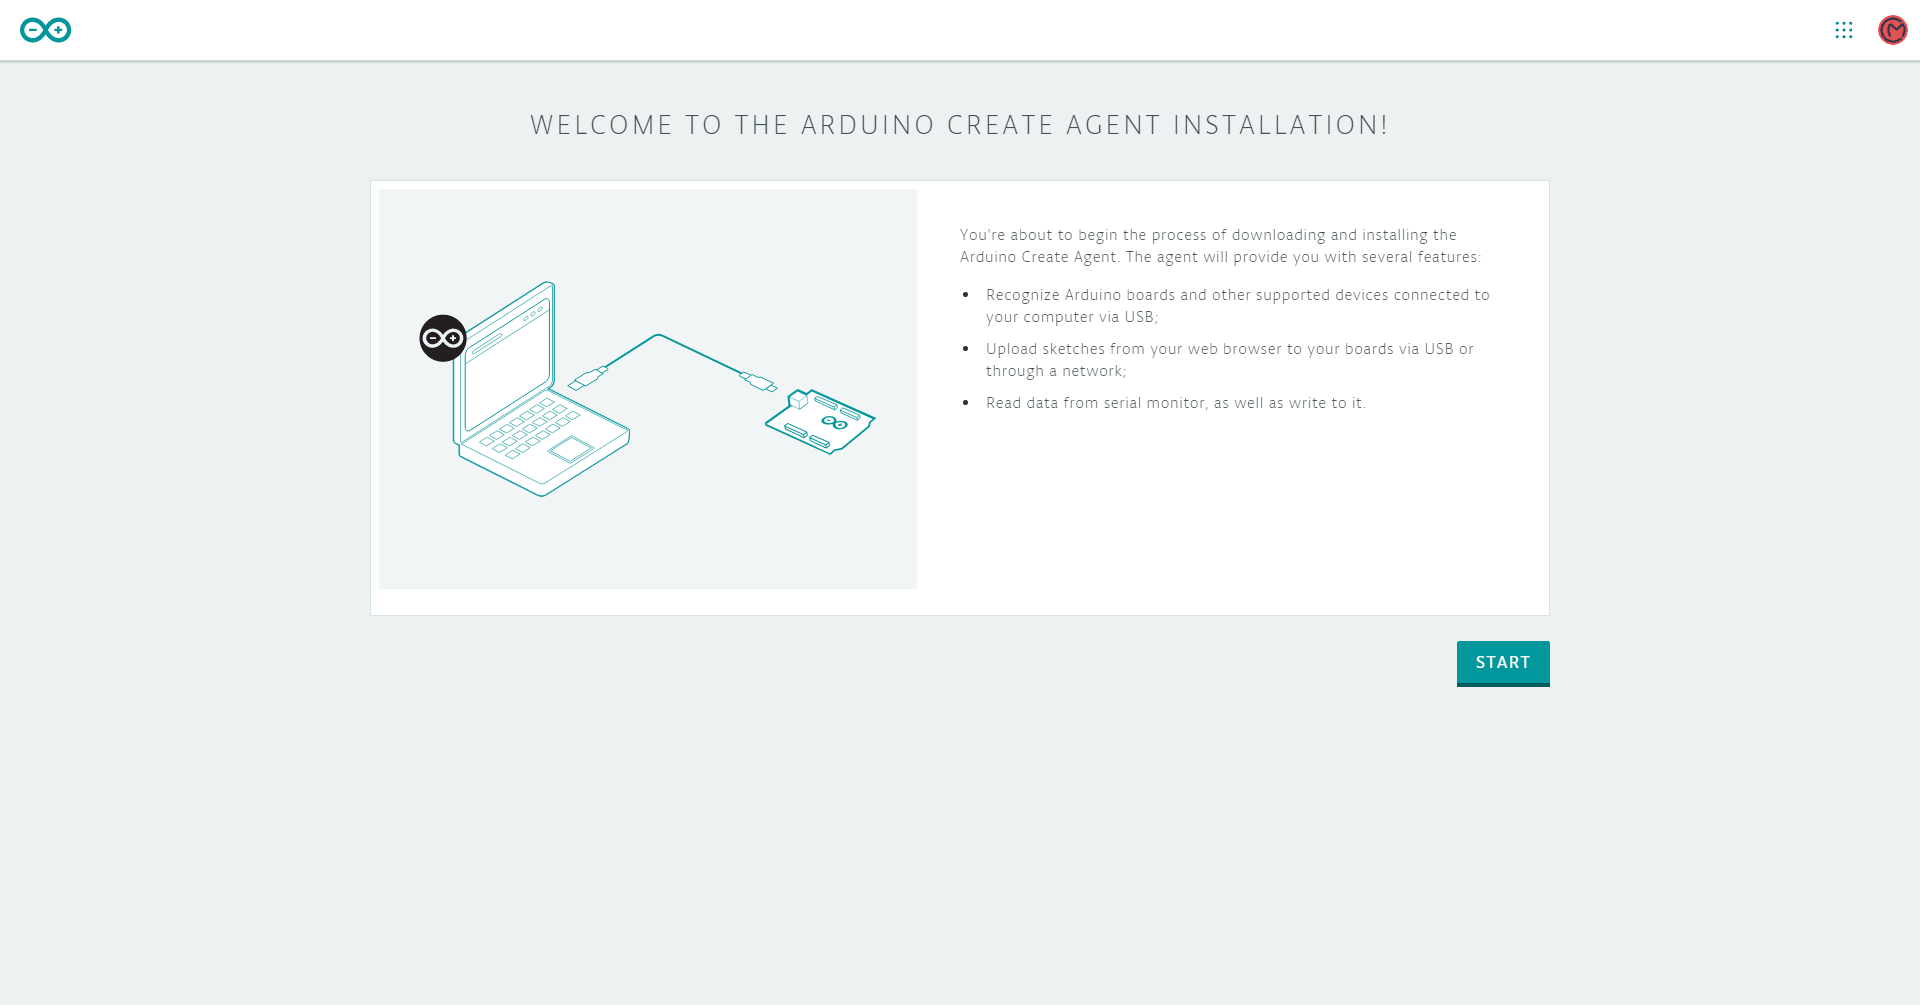
You are prompt to sign in (if you have an accent) or register (if you have no account). Upon signing in, you will be able to see the interface as below.

Read-only sketches for demonstration.

Include built-in/your packages to sketches to provide extra functionalities. Some sensors require extra packages to work with Arduino.

You can read the data receive from or send to boards here.

If you have forgotten some functions, variables, and structures, you can find them here to avoid syntax errors.

Information, tutorials, and glossary can be found here.
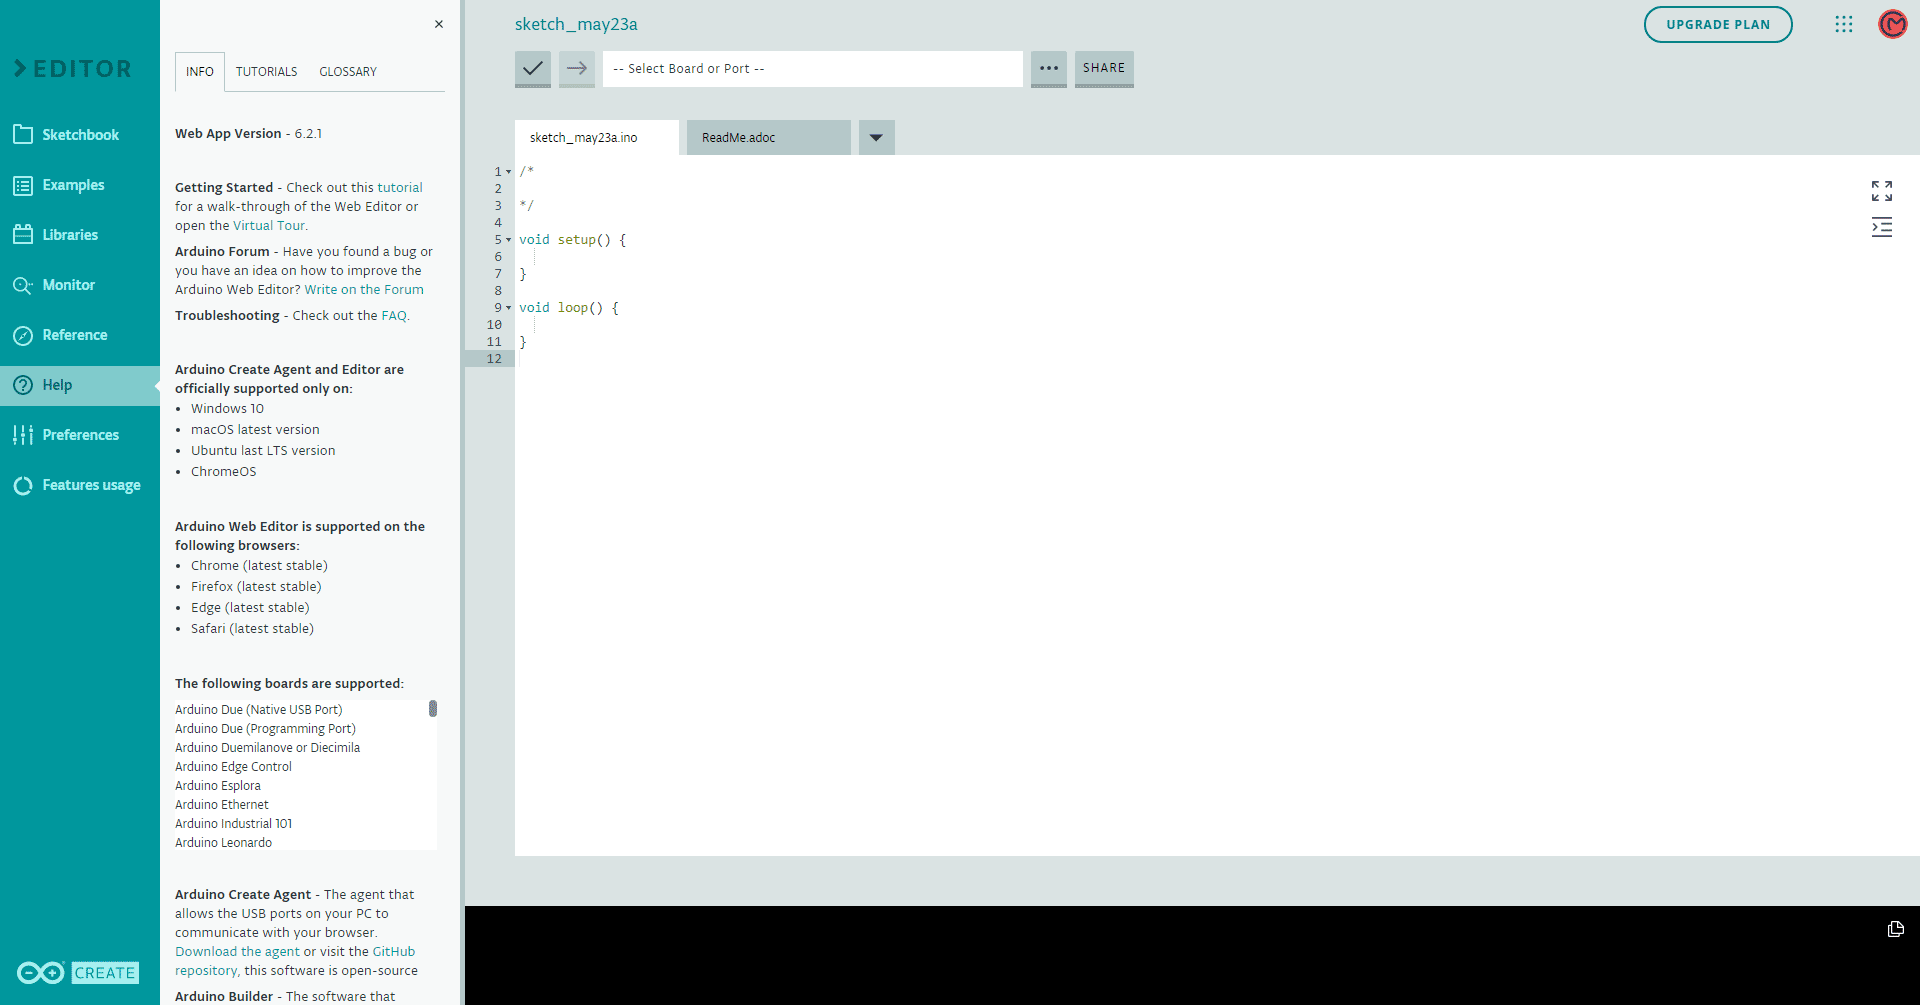
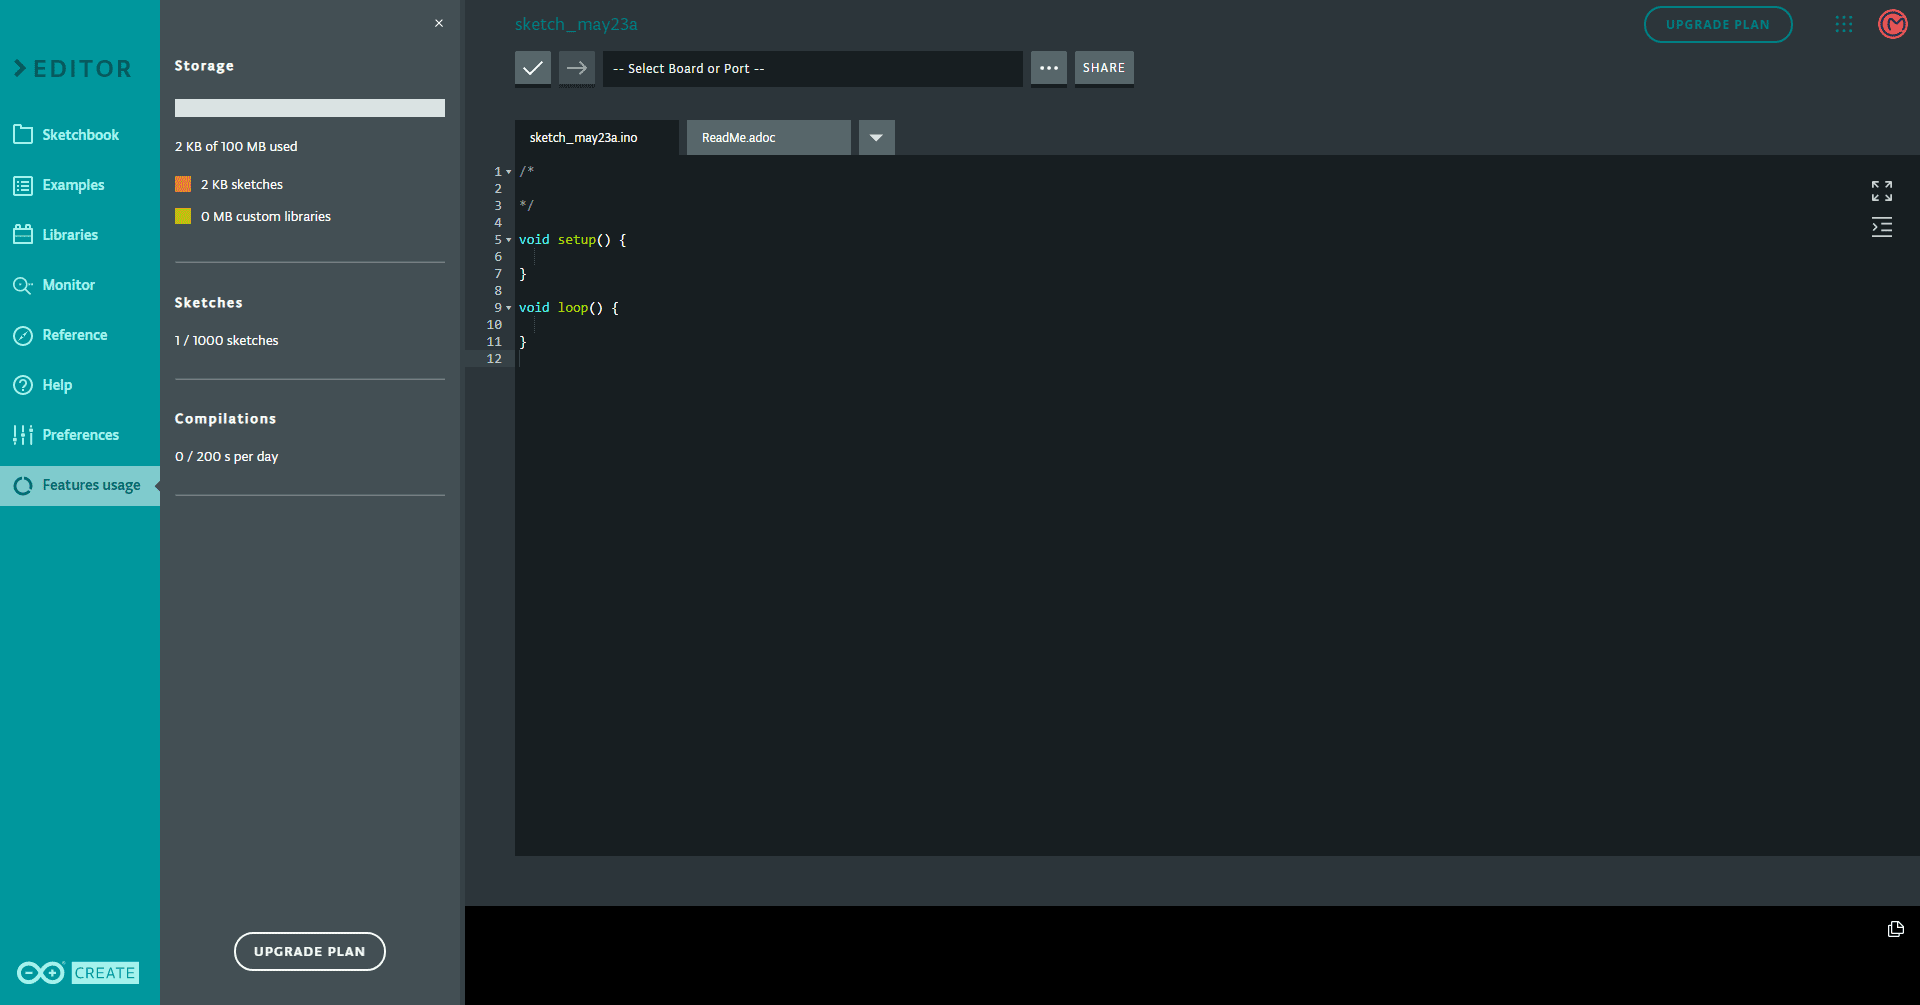
Customize the look and behaviour of editor to suit you. There is Dark Theme option which is a great bonus.

Here where you can view your free plan quota limits. If you plan to upgrade, you can go to see for the pricing page.


CodeKit by EduKits is the block coder I use for arduino projects. Does all I need for simple projects, line following robots etc.
Cool! Thanks for sharing. Now, more and more editors are code block based for easy and fast coding.